Showing posts with label cooking. Show all posts

Sunday, January 27, 2013

Blueberry Muffins

I made these a few weeks back and wanted to make more today BUT WE'RE LOW ON FLOUR.  How is that possible!

Anyway... these were definitely different from the Chocolate Chip Muffins!  Whilst the Chocolate Chip Muffins were more dry and scone-like, these Blueberry Muffins were super moist!  I thought these were more muffin-like, but Tim said he liked the Chocolate Chip Muffin-texture better.  I think this Blueberry Muffins recipe was less "healthy" because of the buttah and sour cream... but that was probably why it was so moist!  :)


Some organic blueberries!
 

All the dry ingredients together

The egg, sugar, butter, sour cream concoction!  It was super thick and smooth.


Pop 'em in the oven at 350 degrees.  I topped them off and they turned out fine.

All done!


Instagram-ed  :)

Blueberry Muffins
By Brown Eyed Baker

Ingredients:
2 cups all-purpose flour
 1 tablespoon baking powder
 ½ teaspoon salt
 1 egg
 1 cup granulated sugar
 4 tablespoons (2 ounces) unsalted butter, melted and cooled slightly
 1¼ cups sour cream
 1½ cups frozen or fresh blueberries

Directions:
1. Preheat the oven to 350 degrees F*. Line standard 12-cup muffin tin with paper liners and set aside.

2. Whisk the flour, baking powder and salt in a medium bowl until combined. Whisk the egg in a separate medium bowl until well-combined and light-colored, about 20 seconds. Add the sugar and whisk vigorously until thick, about 30 seconds. Add the melted butter in 2 or 3 additions, whisking to combine after each addition. Add the sour cream in 2 additions, whisking just to combine.

3. Add the berries to the dry ingredients and gently toss just to combine. Add the sour cream mixture and fold with a rubber spatula until the batter comes together and the berries are evenly distributed, 25 to 30 seconds. Small spots of flour may remain and the batter will be very thick. Do not overmix.

4. Using a large spoon or a cookie scoop sprayed with nonstick cooking spray, divide the batter amount the muffin cups. Bake until the muffins are light golden brown and a toothpick or thin knife inserted into the center of a muffin comes out clean, 25 to 30 minutes, rotating the pan from front to back halfway through the baking time. Immediately remove muffins to a wire rack and cool for at least 5 minutes. Serve immediately or at room temperature. Store leftovers in an airtight container at room temperature.


Can you SEE how moist they are? :D
They took a little more "work" than the other muffins I've made -- mainly because of the butter and sour cream part.  But they were super delicious!  You can taste the buttah.  haha.  I made these as a trial batch intended for my BFF new parents, but I haven't actually gotten around to making a second batch for them.  Maybe sometime this week!

What's your favorite blueberry muffin recipe?  Do you like 'em more dry and scone-like or more moist?
                                

Tuesday, January 15, 2013

Breakfast Casserole

So last week, we also dropped off a Breakfast Casserole for our new-parents friends!
 
(Source)
It's super easy to make and it's good for other occasions that involve a lot of people eating.  :)  It's a great Thanksgiving/Christmas morning thing.  It's a great out-of-town guest thing.  It's a one-pan wonder!


Breakfast Casserole
Recipe courtesy of new-mom herself, Katrina!
 
8 slices of bread, cut off crust, tear into pieces
1 pound bulk sausage
1 cup of shredded cheddar cheese
8 eggs
2 cups milk
 
- Preheat oven to 350 degrees
- Spray a 9x11 casserole dish
- Cook the sausage in frying pan, drain off ALL grease.  It helps to spread the sausage onto a paper towel while you prep the other ingrediants.
- Lay the pieces of bread out  on the bottom of the dish
- Then spread sausage on top of bread - top this with cheese
- Beat the eggs and milk together -- then pour evenly over top
- Cook at 350 degrees for 35 min or until a knife inserted in middle comes out clean
*It is best if you fix this the night before and put it in the fridge and cook it in the morning
 
You can also mix in other ingredients and goodies like mushrooms, bell peppers, bacon, etc.  This is also good for brunches and well, really any time of the day.  :)
 
What are your favorite breakfast dishes to cook for large groups of people?  Or breakfast dishes for new parents?
                                       

Friday, January 11, 2013

Japanese Brown Curry from a Box!

Continuing on the impromptu cooking for new parents series, on Wednesday, we dropped off more food for my BFF and her husband.

I made Japanese brown curry and rice, egg, sausage, and cheese casserole, more chocolate chip muffins, and some pastries from Bread of Life! (Packaged in environmentally unfriendly but so convinient plastic boxes). :) And I couldn't resist buying the mini cha-siu baos (BBQ buns).  They were so cute!

I ran around Oakland Chinatown looking for curry blocks (I went to at least four stores) and it seemed the only kind I could find was Golden Curry, in the small size. So I had to pick up two (which were kinda expensive!) for enough food for 4 people (plus leftovers).
 
 
Source
 
I usually use and like Vermont Curry. Tim is weirded by the advertised with a touch of apple and honey, but after trying Golden Curry, we both agreed Vermont Curry has a better flavor. :) You can usually find one or the other (or both!) at your local Asian supermarket.
 
Source
 
Japanese brown curry from a box is pretty easy! You just follow the directions on the box, and even then you just have to mostly get the measurements for water correct (and the rest is really kind of flexible in my opinion). :oP


Japanese Brown Curry from a Box!
Makes a giant pot.
  • 1 Box Sauce Mix (preferably Vermont Curry) ~ 8.8oz size (large box)
  • 1.5 cup of cubed chicken (or beef or pork, but I've only tried chicken before)
  • 1/2 a large onion or 1-2 medium onions
  • 3-4 medium potatoes
  • 1-2 medium carrots
  • Cooked rice
  1. Cut meat, onions, carrot and potatoes into bite-size pieces. Sauté in saucepan until lightly browned. Add 5-3/4 cups water (if using large box) and bring to boil. Cook over low to medium heat about 20 minutes, or until tender.
  2. Remove from heat. Break curry sauce mix into pieces and add to saucepan.
  3. Cook over low heat about 20 minutes, or until curry thickens. Serve over cooked rice.
Note: The large box says it's 12 servings. (But I think it feeds more like.... 4 really hungry people, possibly to 6. Maybe the Japanese are conservative eaters. haha.) When using a half packet, please add half the amount of the ingredients mentioned and 3-1/2 cups of of water.

This was a staple for feeding friends in college.  All.  The. Time.  :)

Have you made Japanese Brown Curry from a box before?  What's your favorite brand/flavor?
                           

Thursday, January 10, 2013

Chocolate Chip Muffins

Here are the chocolate chip muffins I mentioned yesterday. For some reason, I stated on Facebook that they were the first muffins I've baked from scratch. Then I found out I had made Chocolate Chocolate Chip Muffins before!  :oP
 
Do you like the new oven mitt Tim got me for Christmas?  :)
 
Chocolate Chip Muffins
Adapted from allrecipies.com 
(I made some adjustments based on the comments/feedback people posted on the original recipe.)
 
Makes 12 muffins.
2 cups all-purpose flour


Wednesday, January 9, 2013

Meals for new parents

My BFF just had her first kid!  So I've been learning about cooking meals for new parents.  Though I'm beginning to think it's really just my excuse to go over there to hold little Sammy (short for Samuel).  :)

Hello Sammy!!!

 Last Saturday we brought over enchiladas to share with them, then a Mexican rice casserole for later, chocolate chip muffins, and cinnamon buns!  From the last time some friends had a baby in Boston, I learned (from reading blogs) that new parents often receive many freezable meals like lasagna and casseroles, but don't have things to eat for breakfast!  Since then I've tried to include muffins in addition to bringing over a meal.  In this case I happen to know the dad loves cinnamon rolls, so I grabbed a tube of that at the grocery store.  The muffins I made from scratch and will feature tomorrow!

We went Pillsbury on this one!

Chocolate Chip Muffin!

We got a Costco rotisserie chicken that day and put it to good use in the enchiladas and Mexican rice casserole.  The Mexican rice casserole is one of my favorites to make because it's so easy.  I liken it to Mexican fried rice, without any cooking.  (Just mixing and baking!) 

The recipe is from Sugarcrafter's "Mexican Chicken and Rice Bake"!  (Sorry no pictures.)  She includes a bunch of cheeses I usually don't have, so I usually adapt it to what I have on hand.

So here's my version, adapted from Sugarcrafter:

  • 1 1/2 cup chicken breast, cooked and shredded
  • 4  cooked white rice
  • 1 can sweet corn, drained
  • 1 can black beans, drained
  • 1 can diced tomatoes (or dice up a fresh one)
  • 1 tsp ground cilantro
  • 1/2 cup fat free sour cream
  • 1/2 to 1 cup grated cheddar cheese (depending on how cheesy you want it)
  • 1/2 cup grated mozzarella cheese (sometimes I forget this one if we don't have any)
  • Extra cheddar cheese and fresh cilantro, for topping

  • Preheat the oven to 350 degrees.  Add all the ingredients together, except for the last line (extra cheddar cheese and fresh cilantro), in a large bowl.  Transfer into a greased 9x13 pan.  Put extra cheddar cheese on top and then pop it into the oven!  Bake for ~20 minutes or until it's warmed through.

    It makes for fabulous leftovers since it's a pile of stuff all mixed together already anyway.  :)  One issue we found was that if you make it for new parents or put it unbaked in the fridge (overnight) before baking, it may dry out a bit (rice soaks up the sour cream/liquids?)  So you may want to have some extra sour cream handy and/or hot sauce!  Sometimes I throw in some Tapitio Hot Sauce in while I'm mixing it or if it's with others and someone might not eat spicy, I just add it to my plate. 

    If you're cooking for new parents or other people, make sure to check whether they can eat spicy, have certain ingredients they don't like, or if they're allergic to any food items!

    Have you cooked for new parents?  What are some favorite new parents you've made or have received?  Or have recipes that freeze well?  Please share!
                                                              

    Saturday, April 14, 2012

    The Easter craft-snack I didn't do


    So I first saw these little Easter "baskets" by Lisa Leonard via The Handcrafted Life but can-you-believe-this, I couldn't find the Cadbury eggs!  Granted I didn't run all over town to try to find them.  We co-hosted a brunch on Easter so I mostly looked at the supermarket we shopped at.  I sort of found these dried "chow-mein" looking things but then Tim said they weren't the right ones for these nests.  :(

    Anyway... I sadly didn't get around to making these cute little things!  Perhaps next year and we'll get an early start on those Cadbury eggs!
         

    Thursday, March 22, 2012

    I AM FAMOUS

    This will be a sort of blog post continuum... where I link to a post that links to my post that links to a post.  I am also a dork.

    Anyway.  If you didn't know.

    I. AM. FAMOUS.

    See here:  Cooking with Friends: Kickerdoodles


    I. AM. ALVINA-CHOMPS. Hahah.

    It's like the most amazing post about kickdoodles that puts my post to bordom and shame. Though mostly just bordom. :D

    Penga is amaaazingly creative and so very entertaining.


    Visit her post for to view the entire story of Penga-Tamama and Alvina-Chomp making kickerdoodles!
                           

    Wednesday, January 18, 2012

    apple pots

     Randomly found these apple pots on Amazon!  Aren't they the cutest?!  :D
        
    Comes in red...
    ... and in green!

    They hold 3-quarts and are cast iron with easy-clean porcelain enamel surface.  They seem like they'd be too pretty to use.  :)
                                         

    Tuesday, November 9, 2010

    Chicken Pot Pie

    Helloooo.  This is my second try at making chicken pot pie and I think it turned out the same but better.  :-P  There was hopefully a little bit of improvement in sort of knowing what I was doing.

    EAT ME.


    I basically used this Chicken Pot Pie recipe from Pillsbury and halved it.  And used a different baking dish.  (The recipe was for individual pies so they used 10-oz ramekins.)  I thought it'd be easier so use some dish, so I used a Pyrex pie plate.

    Season your chicken and cook it!  I think I put some pepper, some onion powder, and some apple cider vinegar.

    So I kinda didn't take pictures of the newly-improved-butter-flour-goop-ness part... but it's in the instructions.  :-P  Combine all your ingrediants and simmer until it bubbles thick.

    Spread evenly in your baking dish of choice.

    Open some Pillsbury Grands Flaky Layers Biscuits!  *POP!* Or... some other variation of Grands or the store brand.

    Distribute biscuits on top!  I split a fifth biscuirt to fill in the cracks.  Then shove into the over at 350° and bake for 20-ish minutes or until the biscuits are a golden brown.  (Everything but the biscuits should be cooked and basically edible already.)

    SEE!  :-D  All finished.  Pretty easy.

    
    Chicken Pot Pie
    4 servings (Half of orginal recipe)

    2 tablespoon butter
    2 table + 2 teaspoon all-purpose flour
    Dash of pepper
    1/2 can (5 1/4 oz) condensed chicken broth
    1/4 cup + 2 tablespoons milk
    1 cup cubed cooked chicken
    2 table + 2 teaspoon chopped onion
    1/2 cup frozen peas
    1/2 cup sliced carrots
    1/2+ can Pillsbury® Grands!® Flaky Layers refrigerated original biscuits
    Additional milk, if desired

    Heat oven to 350°F. Grease baking dish.

    In 10-inch skillet, melt butter; stir in flour and pepper. Cook about 1 minute, stirring constantly, until smooth and bubbly. Gradually stir in broth and 3/4 cup milk; cook until mixture boils and thickens, stirring constantly. Add chicken, onion, mushrooms, peas and carrots; cook until hot and bubbly.

    Spoon mixture evenly into ramekins. Separate dough into 8 biscuits. Press each to make 4 1/2-inch round. Place biscuit rounds on tops of filled ramekins. Cut slits in biscuit tops. Brush biscuit tops with additional milk. Sprinkle with sesame seed.

    Bake 17 to 20 minutes or until biscuits are golden brown.
           

    Tuesday, November 2, 2010

    Bell Pepper Pesto Tortellini

    Bell Papper Pesto Tortellini tossed in garlic and red chilli pepper flakes-infused EVOO is the proper name, but it seemed too long for this blog title.  :-P  But basically... that is what it is!  I'm kind of proud of this recipe since I came up with it all on my own and it was really tasty!  It's so suuuuper easy... it might not count as an orginal recipe.  O_O

    First, run to Trader Joe's and pick up a bag or two or three of their dry tortellini.  I accidently discovered them when browsing the aisles.  (So dangerous!)  I got the pesto filled ones... though only cause I couldn't find any of their three-cheese ones on the shelf.  :(  I suuuuppose you could use fresh/real tortellini but mini ones that have shelf life is like... so much better.  Especially for a GREAT quick, ahhh-I-have-nothing-to-cook! emergency, meatless (nothing to defrost/thaw) meal.  :]  Plus, it was only $3 for the pesto one ($2 or $2.50 for the three-cheese one, I believe) and I used it for two meals.

    Trader Joe's Tortellini with Pesto Filling

    Boil water, cook tortellinis according to instructions.  Remember (something I don't...) the cute little mini tortillinis will EXPAND.  :-P  So about half the bag (1/2 lb) was good enough for the TWO of us for one meal.  (Though it might help to have a side dish or some garlic bread.)

    Then dice up (little square bits) some red and green bell peppers.  (Both mostly for color.)

    Add EVOO to a pot, enough to toss the pasta in (not for it to swim in).  Don't put too much oil and keep the heat low (about a simmer) since you don't want to fry your tortellinis or have oil speckle/splatter on you.

    Add garlic and red chilli flakes (optional but so delicious if you can handle a little spicy) and let simmer for about 5-7 minutes.  You can also throw whatever spices you want in.  :oD

    Tip: If you don't own or want to buy red chilli flakes, save some little packets from the next time you order a pizza  :-P

    Throw in the bell peppers and let that simmer for 10-15 minutes, or until you decide it's ready!  :oP  Mostly let the garlic and chilli flakes infuse their flavors into the oil, and to soften the bell peppers (and get good flavor into them too!)

    Red and green bell peppers chilling out (though I'm sure it was very hot) aka simmering in EVOO.

    Hopefully by this point, your tortellinis are ready, drained and waiting!  Try not to overcook them since they kinda start to unravel and the filling falls out.

    Combine the tortellini and bell peppers with EVOO.  Toss.  Eat.  Enjoy!  :-D

    Bell Pepper EVOO Pesto Tortellini!

    The above picture might look a little dry since all the oil probably dripped underneath the tortellinis and... I might've started eating before I remembered to take a picture.  It.  Was.  Really.  Good.  If I can say that about something I cooked.  haha.  Easy peasy and delicious!

    I'm not good at the whole measuring bit (at least when I come up with recipes)... and good thing this one doesn't have too much of that... so I'll say... you should just do it.  As in... just make it up.  :oP  Or if you absolutely need some numbers for guidence... to prepare this dish for two people:

    - 1/2 lb TJ Tortellini w/ Pesto Filling (adjust accordingly if you're using bigger ones or another kind)
    - Half a green bell pepper, diced
    - Half a red bell pepper, diced
    - 1/3 cup of EVOO
    - 3-4 cloves of minced garlic
    - FATTY pinch of red chilli flakes, maybe two  ;]

    You could probably include chicken or other veggies to bulk it up.  Like I  mentioned before, I definitely suggest having some garlic bread to go with it.  Extra deliciousness.  :-D
               

    Thursday, October 21, 2010

    Cheesy Chicken, Bacon & Avocado Quesadillas

    Last night we had Bible study so we had to have a quick dinner since Tim only gets about 30 mins at home before Bible study starts!  (Good thing it's just down the street.)  So I decided to try the Cheesy Chicken, Bacon & Avocado Quesadillas by Kevin {&} Amanda (from now on referred to as K&A).

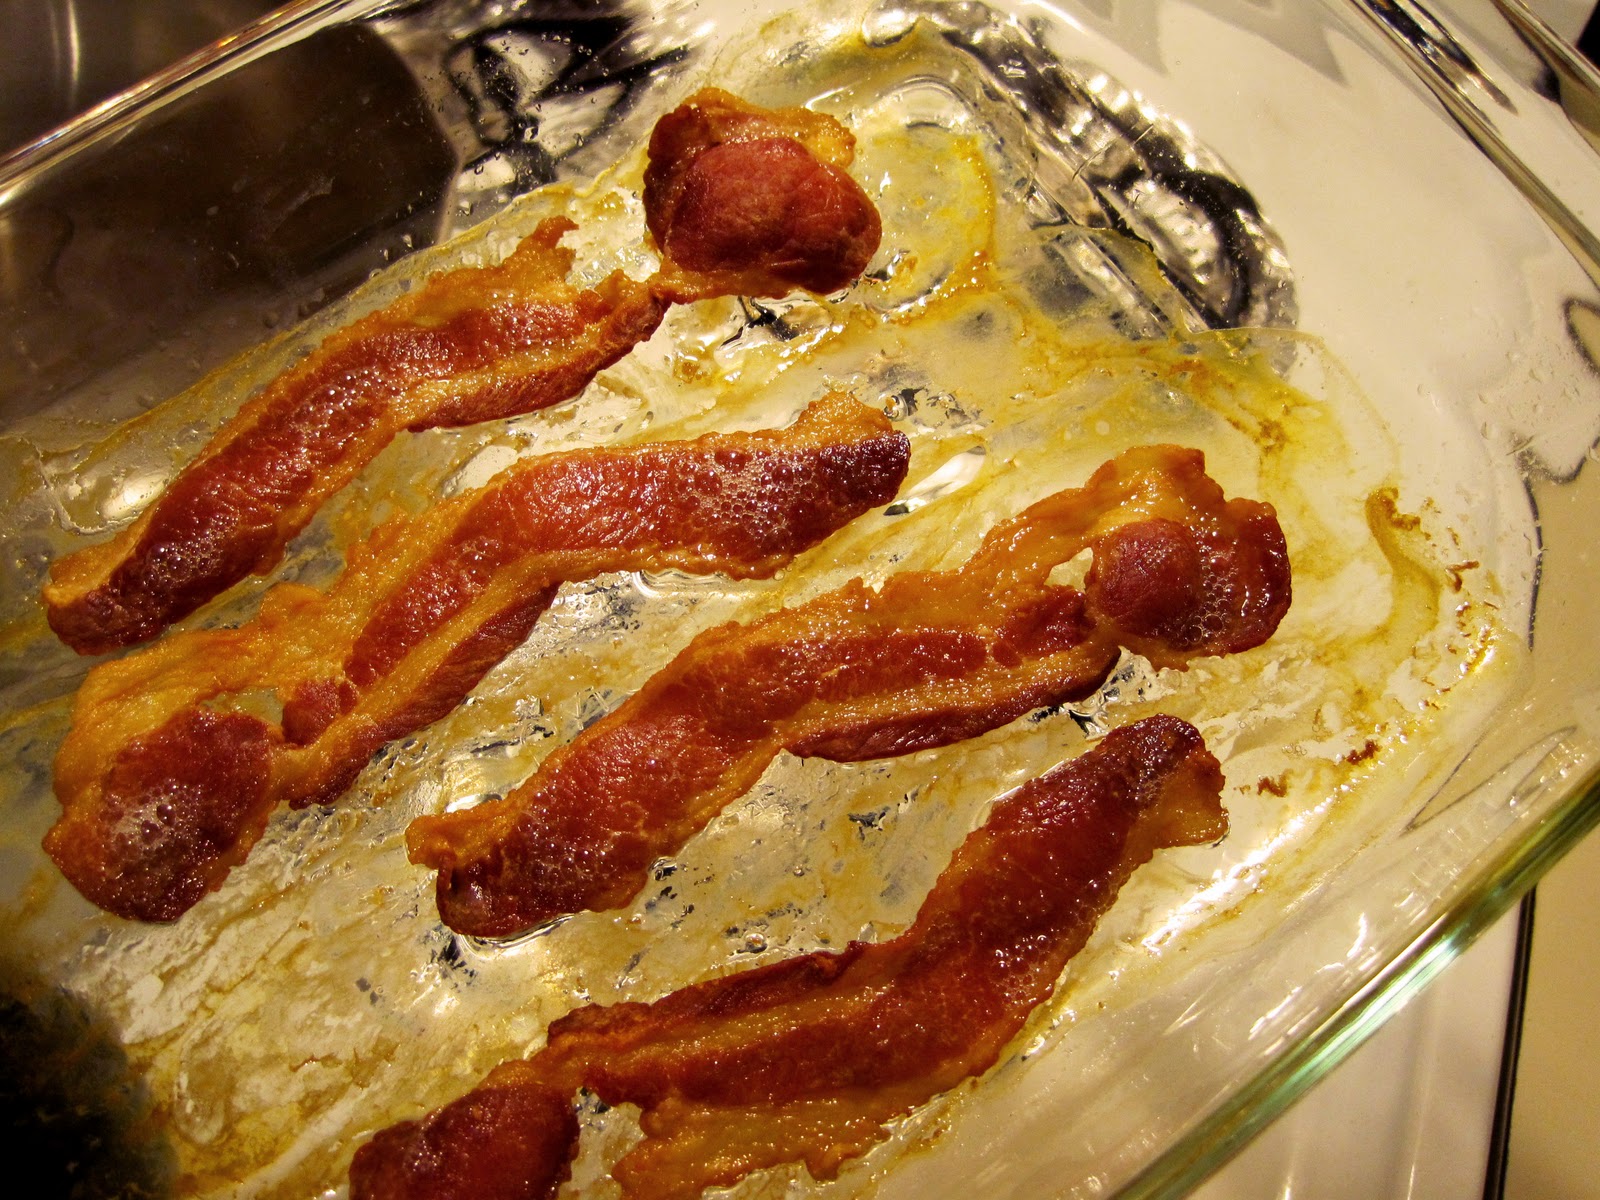
    This second picture gets me... right in the stomach.  Mmmm crispy bacon. 

    You'll need:
    4 medium-sized flour tortilla shells
    1 lb chicken, cut into bite-sized pieces
    salt and pepper
    1/2 cup scallions, diced
    8 strips of bacon, cooked & crumbled
    1 avocado, diced
    mild cheddar cheese, shredded
    2 tbsp butter

    My pictures [and cooking skills] are less impressive but here goes!

    First ya BAKE the bacon!  (Big fan!)  It was a lot less messy than frying it up in a frying pan.  K&A also recommended putting the bacon on a cooling/cookie rack but then I wasn't sure if ours were oven-suitable.  So I just put them on the pan, which K&A say is okay.  Then ya turn the oven to 400° and stick 'em in one side for 15 mins, flip, and 15 mins on the other side.

    Chopped scallions.  "CHOOUN"

    BEST. AVACADO.  I've ever worked with.  Soft, but not mushy.  I cubed them on the skin (like how Chinese people [and/or others] cut a mango) and they just fell right off.  Wonderful.

    Take some bacon grease and sautee the scallions.  I only used a little bacon grease.  Plus some EVOO since "stick"-pans are impossible.  :-P

    Throw the chicken in and toss on the salt and pepper.

    Then remove the chicken and clean/wipe your pan.  Put on some oil (K&A say to add butter) and throw on a tortilla.  After a few seconds, throw in the goodies -- chicken, bacon, avacado, and cheddar cheese.  The husband came home right after I finished the chicken so he took on the task of assembling them.  He decided to go with placing a whole tortilla on top of what you see below, instead of folding it over.

    Mmmmm.  Bubble bubble cheese cheese.

     
    Sorry, the final product pictures aren't very pretty... or look as appetizing or "plump" as the orginal recipe pictures but it was overall a pretty tasty mix of ingredients.  Though... minus the bacon bits, it was a bit bland/not salty enough, so I think adding some hot sauce or sour cream or whatever suits your taste would help!

    You can find the orginal recipe and instructions by K&A HERE.
              

    Friday, October 8, 2010

    Chicken Pesto Cream Pasta


    I think I can take credit for thinking this one up.  :-P  I first cooked this a few weeks ago but it was so delicious... and I had half a jar of pesto opened, we had it again last night.  :]

    Chicken Pesto Cream Pasta

    Ingrediants
    - Chicken breasts (2 pieces)
    - Garlic powder
    - Dried oregano
    - Dash of white cooking wine
    - Jar of pesto  -- we happened to have some Sacla Classic Pesto
    - 1/3 red bell pepper
    - Oil
    - Cream or milk -- (I used Whipping Cream)
    - Pasta of choice -- (I liked Trader Joe's Fusilli)

    Is it terrible that I don't use measurements?

    So in this household, we brine chicken.  1 teaspoon of sugar + 1 teaspoon of salt to 1 cup of water.  Throw chicken in.  Adjust according to how much chicken you put in.  We buy Costco's 10lbs frozen chicken, so I usually rinse off the chicken and throw it into the brine frozen.  So it's a brine + defrost.  That's handy.

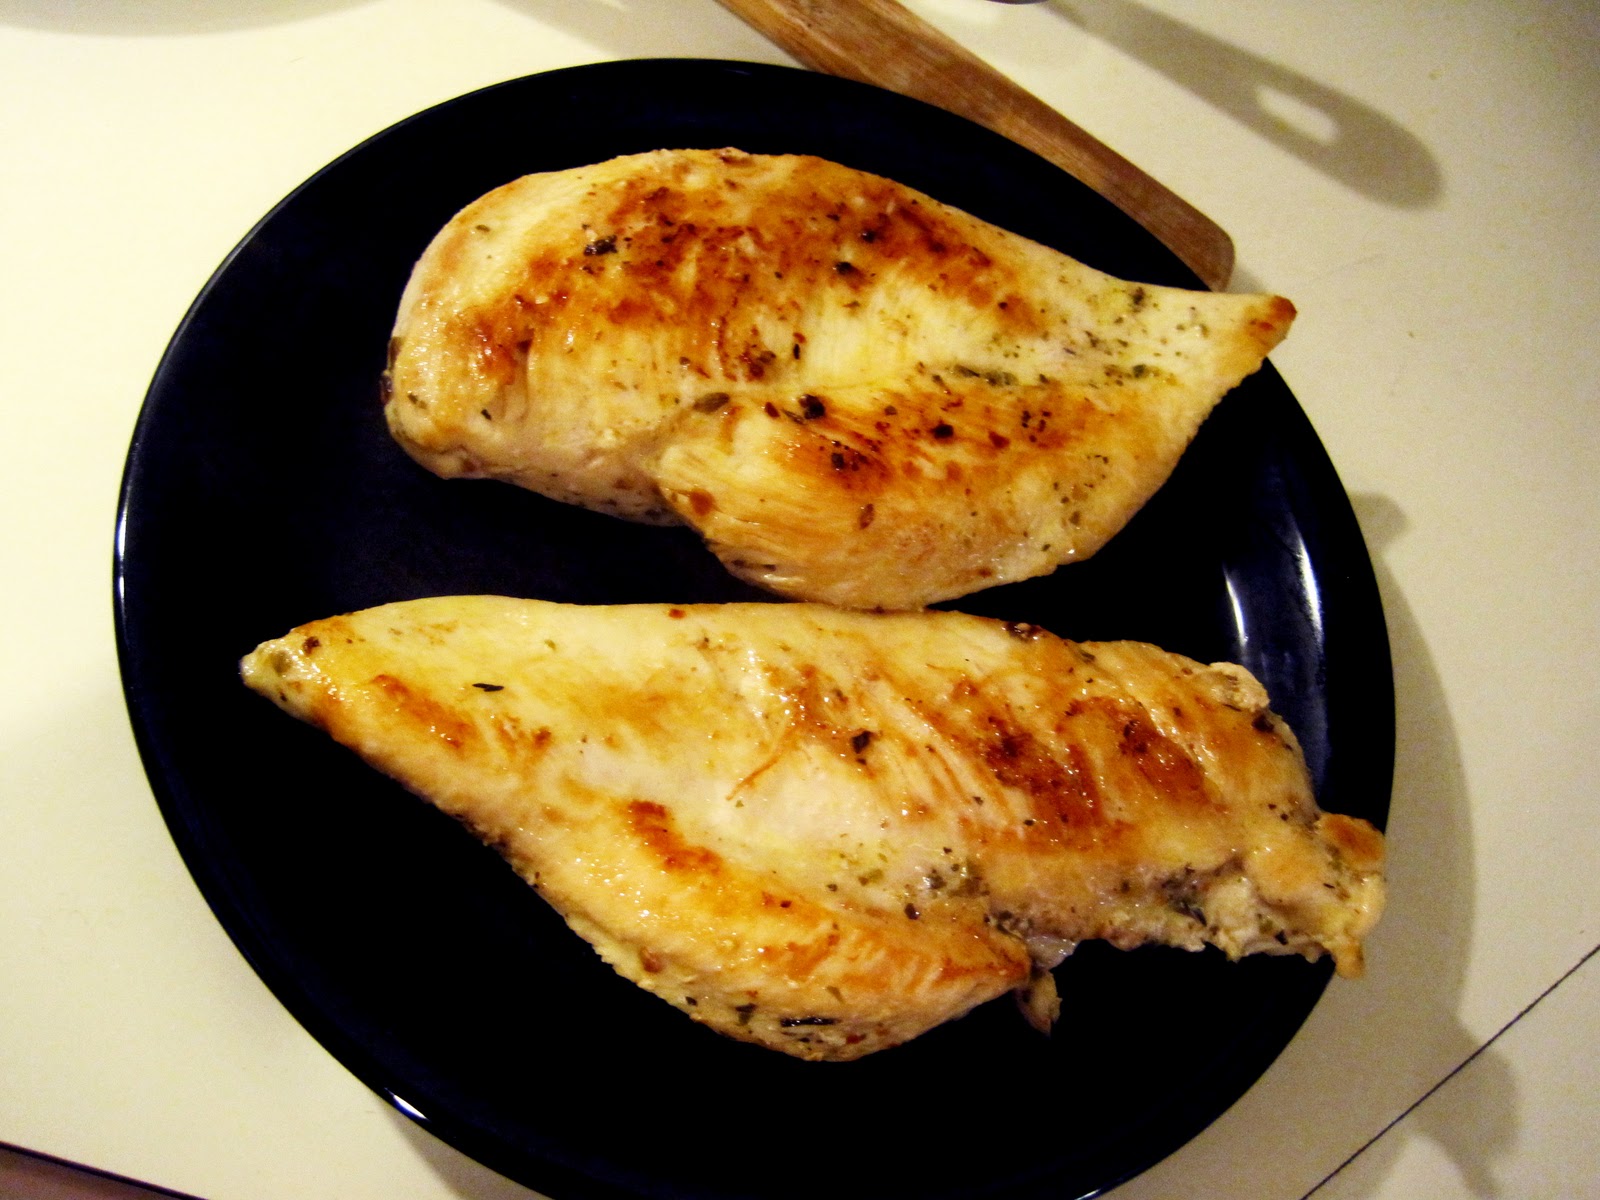
    After the chicken defrosted, I threw on dried oregano and garlic powder on both sides, and splashed in some white cooking wine. 

    Boil the water early and cook pasta as directed.  The pasta can cook away while you cook everything else.


    Time to start the chicken.  Put some oil in a flat pan (large frying pan?) and pan-fry the chicken.  I am beginning to learn how to use stainless steel pots and pans.  (They require lots of oil so things don't stick!  I did buy a small non-stick pot so I can cook eggs and noodles in.  It's the Alvina pot.  :oP)


    When you've got a good handle on the chicken, heat up the pesto sauce.  I only used half the bottle per meal.


    Cook pesto sauce on medium heat until it starts to bubble a little, then add some cream or milk.  Keep stiring.  Taste to see how creamy you want it.  Sometimes I put some cream and some milk so we are only a little fatty.  Because the first time I cooked this I didn't know what I was doing, I threw in the red bell peppers.  It worked for me.  :-P  Cooking the bell peppers in the sauce softens it up, cooks in the flavors and makes it nice and oily.  :-P

    The first time I made it, I didn't intend it to be a cream sauce but I didn't think I wanted to use the entire $5.50 bottle of pesto sauce in one dish!  It would've been too salty and perhaps even too flavorful.  So I looked online and found this article that recommended adding milk (to cut the cost of pesto)!

    Cook and stir and when you think the bell peppers are nice and soft and the sauce and milk/cream is well combined, put everything together!  I like to plate the pasta and ladle the pesto cream sauce on top.  (Though I suppose you can combine the pasta and sauce before plating.)  Then slice the chicken breast and carefully place the whole piece on top of the pasta.  For presentation.  haha.

    It's pretty crazy to think how restaurants, granted they cook it much better, can charge you like $15-18 for a chicken pesto dish when our entire meal cost like... $5 (for both of us!)  The bottle of pesto was $5.50 and the TJ pasta was $1, both split into two meals, then plus the chicken.  Serrrriiiiously, sweet tasty deal.


    What are some of your favorite recipes, and when are you sending them to me?  :]
                          

    Thursday, October 7, 2010

    Cooking

    
    Good Afternoon
     
    - -- --- ---- ----- ------ ----- ---- --- -- -

    Contrary to the current trend (two makes it a trend, right?) of recipe posts, this is definitely not a cooking blog.  :-P  I don't... cook.  Well.  I do now.  But mostly only cause the nice husband works and I currently do not so I have the time to cook.  During our interim stay in Ithaca this past summer, the husband mostly cooked every night.  Well, it depends if how you define cooking, since I chopped, sliced, and helped prep but he would make it hot.  :]  He enjoys cooking and likes experimenting and coming up with new things.  I enjoy eating.  :]

    Through these past couple months, I've had to scour the interweb for new recipes and I think... I've actually come to enjoy this cooking business, and... I think I'm sort of better at it.  Practice makes perfect things edible!  :-D  The husband says he can still cook after work but if I want to eat at a reasonable time, I would have to prep most of the stuff before he got home (defrost chicken, brine chicken, marinate chicken, chop veggies, etc.)  And... if I'm doing that, it really only takes me like ~15 minutes to make the food hot... so why don't I just do it all.  :-P  So the weekends have become the husband's cooking time. 

    My improvement in cooking at least relieves me that our future children won't have to wait for daddy to cook to eat a decent meal... that isn't stir-fried noodles or spaghetti.  :oP
                         

    Wednesday, October 6, 2010

    The knock-off Marlboro

    Tonight was our first small group fellowship so dinner had to be somewhat quick.

    So I opted to try to make The Marlboro Man Sandwich by none other than the Pioneer Woman  :]

    The Marlboro Man Sandwich.  (Source)

    It mostly made me think it kinda resembled a thick, more steak-like, hearty Philly Cheese Steak sandwich.  Though I might get beat up for saying that. 

    If you look at the recipe, it calls for a whoppin' 2 sticks of butter (for 2-3 lbs of cube steak, spread over 4 sandwiches).  That's a lotta butter, woman!  Since I used the recipe as more of a "guide" than following it step by step, I cut out most of the butter.  :oP


    I used a sirloin steak that we got from Costco, which has the flakey consistency of philly cheese steak.

    Sauteed this onion in EVOO (instead of globs of butter).  And we apparently have a mutant blue knife!

    Goooo Cow go!

    Meet my sandwich.  I slathered a LITTLE bit of homemade butter on ONE side of the bread and toasted it (in a toaster oven).  Piled on the beef and onions.  And those are two sad pieces of provolone, that were just hanging out in the bag from yesterday's sandwiches.  :oP
    It turned out a bit salty, most likely from the combination of the seasoning salt plus the Worcestershire Sauce.  Which were both eyeballed.  So we added some lettuce before consumption and drank lots of water.  :oP
                    
    Related Posts Plugin for WordPress, Blogger...